Stovetop Granola Without Oil: Your Simple Guide to a Healthy Crunch
In an age where health-consciousness is not just a trend but a lifestyle, many households are re-evaluating their daily staples. Granola, a beloved breakfast and snack item, often falls under scrutiny due to its traditional preparation methods, which frequently include a generous amount of oil. While delicious, these added fats can contribute unnecessary calories and saturated fats. But what if you could enjoy all the satisfying crunch and wholesome goodness of granola, without the oil? The answer lies in the art of making
stovetop granola without oil.
This guide is dedicated to demystifying the process of creating a perfectly crisp and flavorful batch of homemade granola, all on your stovetop, and entirely oil-free. Not only is this method incredibly simple, requiring minimal ingredients and equipment, but it also offers a lighter, healthier alternative that doesn't compromise on taste or texture. Imagine a versatile topping for your yogurt, a nutritious addition to your smoothie bowl, or a wholesome snack for an on-the-go lifestyle – all made with ingredients you control. This isn't just a recipe; it's an invitation to a healthier, more customizable granola experience. Let's gather our supplies and unlock the secrets to a truly delicious, oil-free crunch.
Why Go Oil-Free? Unpacking the Health and Taste Benefits
The shift towards healthier eating has put a spotlight on reducing unnecessary fats in our diets. Traditional granola recipes often rely on oil or butter to achieve their signature crispness and to help bind ingredients. However, opting for
granola without oil brings a host of advantages that extend beyond just calorie reduction.
*
Reduced Fat Content: This is the most obvious benefit. By eliminating oil, you significantly cut down on the total fat and calorie count of your granola, making it a more heart-healthy choice. This is particularly appealing for those managing weight, adhering to specific dietary plans like whole-food plant-based diets, or simply aiming for a lighter option.
*
Enhanced Natural Flavors: Without the heavy coating of oil, the individual flavors of your oats, nuts, and seeds truly shine through. You'll notice the nutty richness of almonds, the subtle sweetness of maple syrup, and the warmth of your chosen spices more distinctly. It allows for a purer, cleaner taste profile.
*
Digestibility: For some, oil-laden foods can feel heavy or lead to digestive discomfort. Oil-free granola often feels lighter in the stomach, making it a more pleasant snack or breakfast option, especially in the morning.
*
Crisp, Non-Greasy Texture: One might assume oil is essential for crunch, but that's not the case. The stovetop method, coupled with proper cooling, yields an incredibly crisp and satisfying texture that isn't greasy. It’s a clean crunch that melts in your mouth, leaving behind delicious flavor, not an oily residue.
*
Cost-Effective: While a minor point, consistently buying less oil can add up to small savings over time, making your homemade granola even more budget-friendly.
*
Easier Customization: By building your granola from the ground up without oil, you have complete control over all ingredients. This means you can adjust sweetness levels, experiment with various nut and seed combinations, and infuse it with unique spices, creating a truly personalized treat that aligns with your dietary needs and taste preferences. This healthy approach aligns perfectly with
the healthy granola trend.
The Essential Ingredients for Your Oil-Free Masterpiece
Crafting delicious
granola without oil begins with selecting the right core ingredients. The beauty of this recipe lies in its simplicity and versatility, allowing you to customize it to your heart's content.
Oats: The Heart of Your Granola
*
Rolled Oats (Old-Fashioned Oats): These are your best friend for stovetop granola. Their larger, flatter flakes toast beautifully, providing that essential chewiness and crunch. They hold their shape well and absorb sweeteners evenly.
*
Quick Oats: While usable, be aware they tend to break down more easily and can result in a softer, less distinct texture. For the ideal crisp, stick with rolled oats. Avoid instant oats entirely, as they turn mushy when cooked this way.
Nuts & Seeds: Powerhouses of Nutrition and Texture
Nuts and seeds are not just for added crunch; they're packed with healthy fats, protein, fiber, and essential micronutrients.
*
Common Choices: Almonds (sliced or chopped), walnuts, pecans, cashews, pumpkin seeds (pepitas), sunflower seeds.
*
Boosters: Chia seeds and flax seeds can be added in smaller amounts for omega-3s and additional fiber, but be mindful that too many finely ground seeds can affect texture.
*
Tip: Roasting nuts lightly before adding them to the granola mixture can enhance their flavor, but it's optional with the stovetop method as they'll toast during cooking. Mix and match based on your favorites and what you have on hand.
Sweeteners & Binders: The Glue and the Flavor
These ingredients do double duty, providing sweetness and acting as a natural binder to help the granola clump together.
*
Maple Syrup: A popular choice for its distinct flavor and natural sweetness. It caramelizes beautifully on the stovetop.
*
Honey: Offers a different flavor profile and also works effectively as a binder.
*
Agave Nectar: A vegan alternative to honey, it has a neutral taste and similar binding properties.
*
Fruit Purees: For a less sweet option, or to add a hint of fruitiness, consider a tablespoon or two of unsweetened apple sauce or mashed banana. These contribute natural sugars and moisture, helping with binding, but may require a slightly longer cooking time to dry out sufficiently.
*
Tip: Adjust the amount of sweetener to your preference. Start with the recommended amount and remember you can always add more post-cooking if needed.
Flavor Boosters: Elevate Your Batch (Optional but Recommended)
*
Spices: Cinnamon, nutmeg, cardamom, ginger, or even a hint of allspice can transform your granola. Start with half a teaspoon and adjust.
*
Vanilla Extract: Adds a warm, comforting aroma and flavor. Add it with your liquid sweetener.
*
Salt: A pinch of fine sea salt is crucial. It doesn't make the granola salty but enhances all the other flavors, especially the sweetness.
Gathering Your Tools: Simplicity at Its Best
One of the greatest advantages of making
stovetop granola without oil is the minimal equipment required. You likely already have everything you need in your kitchen!
*
Large Non-Stick Skillet: This is your most important tool. A large skillet ensures your granola mixture spreads out thinly, allowing for even toasting without overcrowding. A non-stick surface is absolutely essential when cooking without oil to prevent sticking and burning. Choose one with a heavy bottom for better heat distribution.
*
Large Mixing Bowl: For combining all your dry and wet ingredients thoroughly.
*
Sturdy Spatula or Wooden Spoon: You'll need this for mixing your ingredients and, more importantly, for frequent stirring during the toasting process to prevent hot spots and ensure even browning.
*
Airtight Container: Once cooled, your delicious granola will need a proper home to maintain its freshness and crunch. Glass jars or sealable plastic containers work perfectly.
Your Step-by-Step Guide to Stovetop Granola Without Oil
With your ingredients prepped and tools ready, it’s time to bring your oil-free granola to life. This process is straightforward and incredibly rewarding.
1.
Combine Dry Ingredients: In your large mixing bowl, add the rolled oats, chopped nuts, seeds, and any dry spices (like cinnamon or nutmeg). Stir everything together thoroughly with your spatula or spoon until well combined. This ensures even distribution of flavors and textures in every bite.
2.
Drizzle in Sweetener: Pour your chosen liquid sweetener (maple syrup, honey, or agave) over the dry mixture. Add vanilla extract and a pinch of salt if using. Stir vigorously until all the dry ingredients are evenly coated. The mixture should feel sticky and hold together when pressed. This sticky coating is what helps create those delightful clusters and contributes to the final crunch.
3.
Preheat Your Skillet: Place your large non-stick skillet over medium heat. Allow it to heat up for 2-3 minutes. A hot pan is crucial for achieving effective toasting without the need for oil. Do not add any oil to the pan.
4.
Toast the Granola: Carefully pour the granola mixture into the preheated skillet. Spread it out into a single, even layer as much as possible. This is where your constant attention is needed. Stir the granola frequently, every 1-2 minutes, to ensure it toasts evenly and prevents any parts from burning. The edges tend to toast faster, so be sure to scrape them towards the center.
*
Cooking Time: This process typically takes about 10-15 minutes, depending on your stove's heat and the thickness of your layer. You're looking for a beautiful golden-brown color and a fragrant, toasty aroma. The granola will still feel slightly soft or sticky at this stage, but don't worry – the crunch develops during cooling.
5.
Cool Completely for Crunch: Once your granola has reached a rich golden brown, remove the skillet from the heat. This step is absolutely critical for achieving that perfect crisp texture. Let the granola cool completely and undisturbed in the skillet for at least 30 minutes to an hour. As it cools, the sugars will harden, and the granola will become wonderfully crunchy. Resist the urge to stir it during this cooling period, especially if you desire clusters.
6.
Store and Enjoy: Once completely cool and crunchy, transfer your
stovetop granola without oil to an airtight container. It will stay fresh and crunchy at room temperature for up to 2-3 weeks.
Beyond the Basic Batch: Customization and Serving Ideas
The beauty of homemade oil-free granola is its endless possibilities for customization and enjoyment.
Add-ins (Post-Cooking for Best Results)
*
Dried Fruits: Once the granola is completely cool, stir in dried cranberries, raisins, chopped apricots, dried cherries, or goji berries. Adding them after cooking prevents them from becoming hard or burning.
*
Chocolate Chips: For a treat, mix in your favorite chocolate chips (dairy-free if vegan) after the granola has cooled. The residual warmth might slightly melt them, creating delightful pockets of chocolate.
*
Coconut Flakes: Lightly toasted coconut flakes add a tropical twist and extra crunch. Add them during the last 2-3 minutes of stovetop cooking, or toast them separately and add after cooling.
Flavor Profiles to Experiment With
*
Tropical: Add dried mango or pineapple, and a touch of ginger powder.
*
Chai Spice: Incorporate cardamom, ginger, cloves, and a pinch of black pepper.
*
Savory: For an adventurous palate, omit the sweet spices and add a mix of herbs like rosemary or thyme, a pinch of smoked paprika, and nutritional yeast for a cheesy umami flavor. This makes a great topping for salads or soups!
Serving Suggestions
*
Classic Breakfast: Serve with milk (dairy or plant-based), yogurt, or kefir.
*
Smoothie Bowls: Sprinkle generously over your favorite smoothie for added texture and nutrition.
*
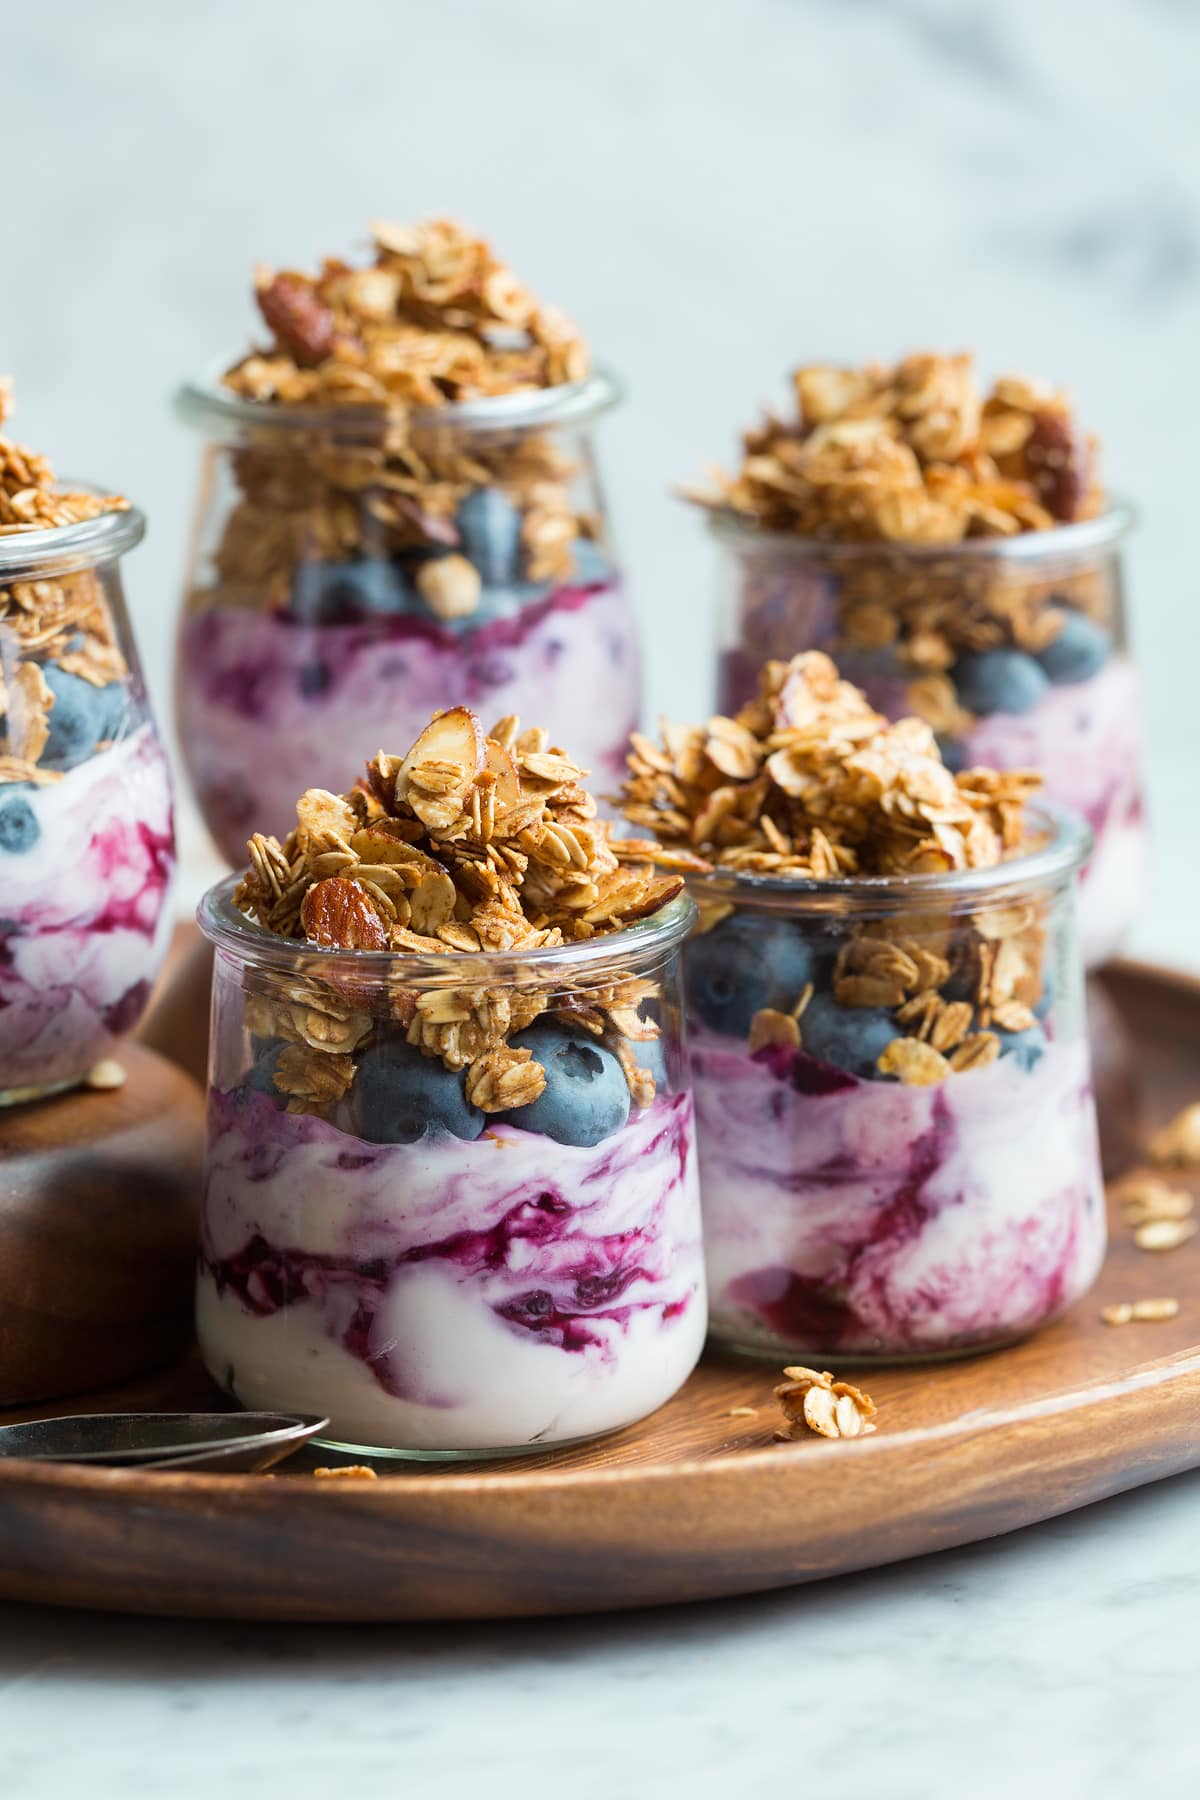
Fruit Parfaits: Layer with fresh fruit and yogurt for a beautiful and healthy dessert or breakfast.
*
On Its Own: A handful of homemade granola makes for an excellent, satisfying snack anytime.
*
Dessert Topping: Use it to add crunch to baked apples, fruit crumbles, or even a scoop of ice cream.
Troubleshooting Common Issues
Even with a simple recipe, minor hiccups can occur. Here’s how to address them:
*
Granola Isn't Crunchy Enough:
*
Solution: It likely needs more cooking time to dry out. Return it to the skillet over medium heat and continue toasting, stirring frequently, until it's a deeper golden brown. Ensure it cools completely and undisturbed in the pan; this step is critical for developing crunch. Don't overcrowd your pan; a thin layer is key.
*
Granola is Burning:
*
Solution: Your heat might be too high, or you're not stirring frequently enough. Reduce the heat to medium-low and stir constantly. Keep a close eye on it, as stovetops can vary in heat distribution.
*
Granola is Too Sticky/Not Forming Clusters:
*
Solution: This usually indicates either too much sweetener or not enough cooking time. Ensure the mixture is toasted until well-dried out. For clusters, press the granola down with your spatula occasionally during the last few minutes of cooking, and then let it cool completely undisturbed.
Embrace the Healthy Crunch
Making
stovetop granola without oil is a fantastic way to take control of your diet, enjoy healthier snacks, and indulge in the joy of homemade goodness. It's a testament to the fact that healthy eating doesn't have to be complicated or flavorless. With minimal effort, simple ingredients, and a trusty skillet, you can whip up batches of perfectly crisp, naturally delicious granola that far surpasses anything you'll find in a store. Experiment with flavors, savor the process, and delight in a snack that truly nourishes your body and satisfies your cravings. So, go ahead, make your next batch of granola the healthy, oil-free way, and discover a whole new level of homemade deliciousness.